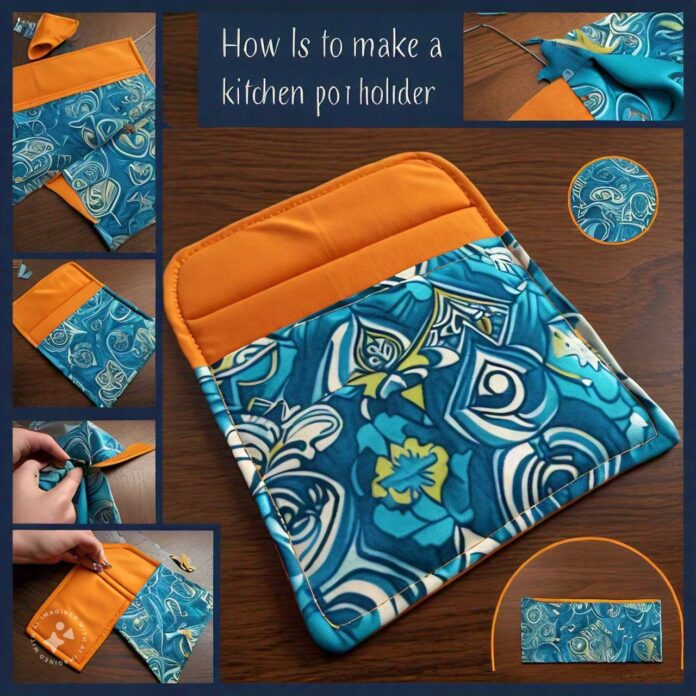
You’re not alone if you’ve ever wished your kitchen had a bit more of your unique flair or burned your palm while reaching for a hot pan. A dish towel pot holder can help with that! In addition to being a useful addition to any kitchen, creating your own pot holder is an enjoyable and imaginative do-it-yourself project. Additionally, it’s a fantastic method to recycle leftover or outdated dish towels. I’ll show you how to make your own pot holder from scratch in this tutorial, giving your kitchen a unique and comfortable touch.
Let’s dive in!

Why Make Your Own Pot Holder?
You might be wondering, Why go through the effort of making a pot holder when you can just buy one? Here are a few good reasons:
- Eco-Friendly: By using materials you already have, like old dish towels, you’re reducing waste and giving new life to old fabrics.
- Cost-Effective: Store-bought pot holders can be pricey, especially for high-quality ones. DIY versions are budget-friendly.
- Customizable: Want your pot holder to match your kitchen theme? Want a specific size or design? Making your own gives you full creative control.
- Satisfying: There’s something special about using something you’ve made with your own hands.
- Now that you know why it’s worth doing, let’s get into the nitty-gritty of how to make one.
Materials You’ll Need
How to Make a Dish Towel Pot Holder
If you’ve ever burned your hand while grabbing a hot pan or wished your kitchen had a little more of your personal touch, you’re not alone. That’s where a dish towel pot holder comes in! Not only is this a functional tool for any kitchen, but making your own pot holder is also a creative and satisfying DIY project. Plus, it’s a great way to repurpose old or extra dish towels. In this guide, I’ll walk you through how to create your own pot holder from scratch, adding a cozy and personalized element to your kitchen.
Let’s dive in!

Materials You’ll Need
| Material | Description |
|---|
| Dish Towel | Choose a thick, durable towel, preferably made of 100% cotton. |
| Heat-Resistant Padding | Essential for safety. Cotton batting or specialty heat-proof material works best. |
| Scissors | Sharp fabric scissors are ideal for clean, precise cuts. |
| Sewing Machine | Optional, but it speeds up the process and creates strong seams. |
| Thread | Use a color that complements your dish towel or adds contrast. |
| Pins | To hold layers of fabric together while sewing. |
Before you start, gather your materials. This project doesn’t require anything fancy—most of the items might already be in your home.

Step-by-Step Guide to Making a Dish Towel Pot Holder
Step 1: Select the Right Dish Towel
Selecting the appropriate dish towel is the first step in creating a fantastic pot holder. Choose a towel that is thick, durable, and ideally composed of cotton. Cotton withstands high temperatures effectively since it is naturally heat-resistant.
Do you have a dishtowel that complements your kitchen in terms of color or pattern? Excellent! You may add some individuality to your pot holder by using a printed towel.
Professional Tip: Steer clear of synthetic or flimsy towels. Certain synthetics can melt in extreme heat, and they could not offer adequate heat protection.
Step 2: Measure and Cut the Fabric
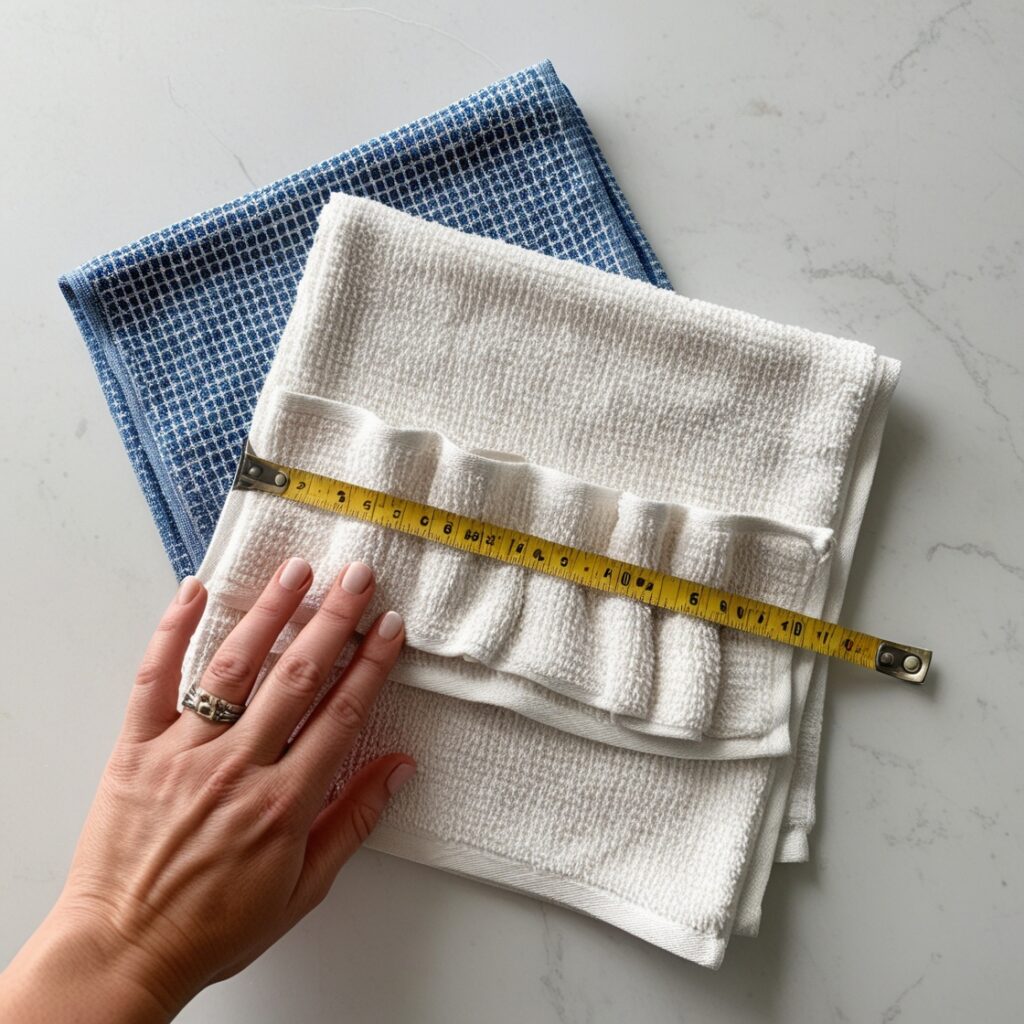
After deciding on a dish towel, the next step is to measure and cut the cloth.
On your work surface, spread the towel out flat.
Measure an 8-inch square with a measuring tape or ruler. Although this is the typical pot holder size, you are welcome to change it to suit your needs.
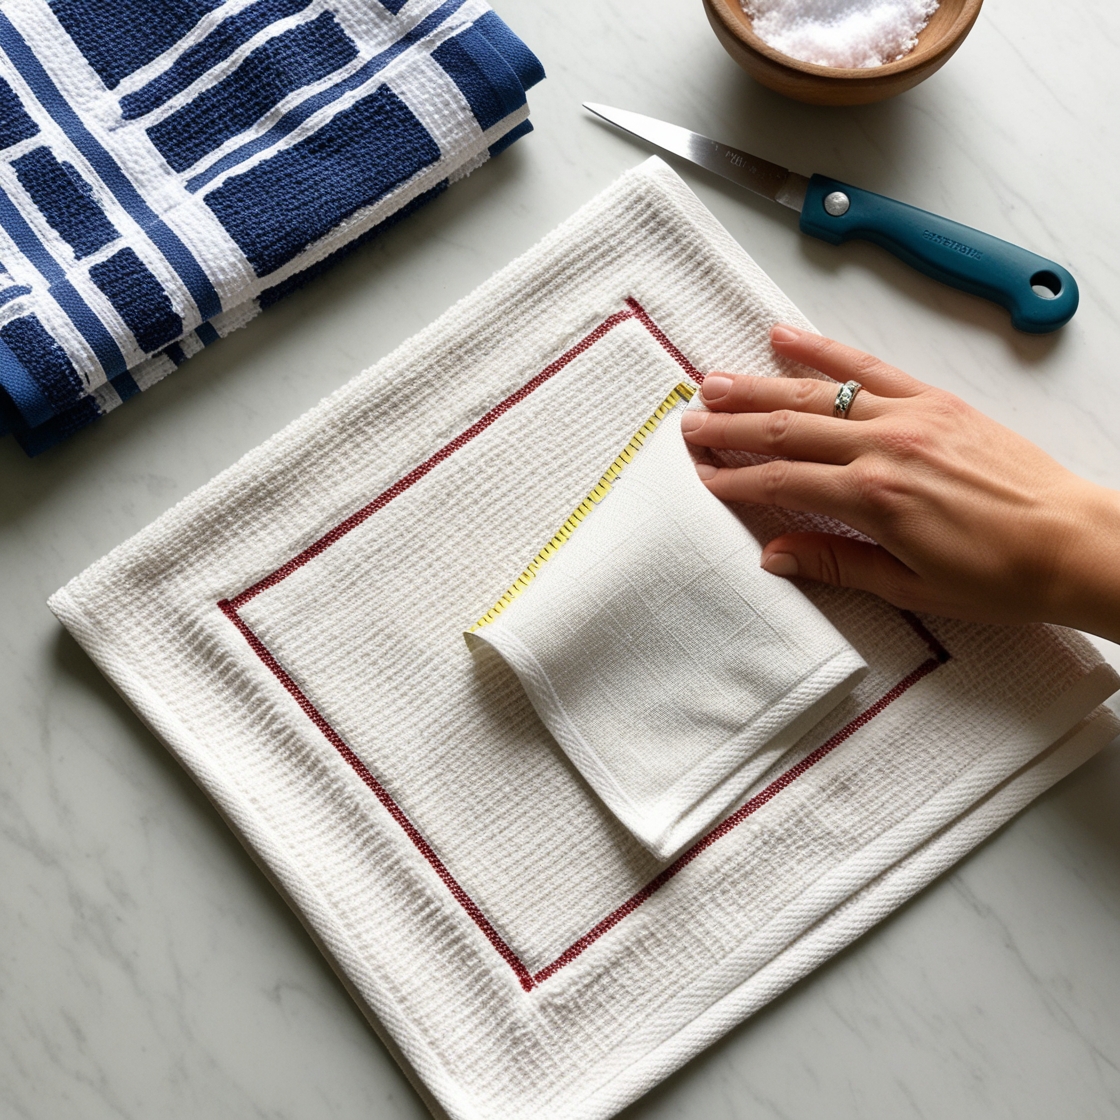
From the towel, cut out two squares. These will make up your pot holder’s front and rear.
Two heat-resistant padding squares that are the same size as your fabric pieces must also be cut. Your hands will be shielded from the heat by the cushioning that sits between the towel layers.
Pro Tip: If you’re making multiple pot holders, cut all your fabric and padding pieces at once to save time.

Step 3: Assemble Your Layers
Now that you have all your pieces, it’s time to assemble them. Think of this as making a fabric “sandwich.”
- Place one of your dish towel squares face down on your work surface.
- Add a layer of heat-resistant padding on top of the towel.Place the second towel square face up on top of the padding.
At this point, you should have three layers:
Bottom: Towel (wrong side facing out)
Middle: Padding
Top: Towel (right side facing out)
Use pins to hold the layers together. This will make sewing easier and prevent the layers from shifting.
Step 4: Sew the Layers Together
The exciting part is about to begin: making your pot holder! This stage will be quick and simple if you have a sewing machine, but if necessary, you can sew by hand.
1. With a 1/4-inch seam allowance, sew the fabric sandwich’s edges.
2. Leave a small opening (about 2 inches) on one side. This opening will allow you to turn the pot holder inside out.
Once the edges are sewn, trim any excess fabric or uneven edges.

Step 5: Turn Inside Out and Finish
Gently insert your pot holder through the opening, right side out. To make the corners nice and sharp, press them out with a pencil or chopstick.
Sew the opening shut after folding in the edges. You can use your sewing machine or accomplish this by hand.
Sew a quilted design across the pot holder for added durability and a polished look. For instance, you can make a crisscross design by sewing diagonal lines. This holds the layers firmly in place in addition to looking fantastic.

Personalize Your Pot Holder
Customization is one of the nicest aspects of creating your own pot holder. Here are some suggestions to make your creation genuinely one-of-a-kind:
. Add a Hanging Loop: To hang your pot holder in the kitchen, sew a tiny loop of cloth to one corner.
. Use Decorative Stitches: To add flair, use the decorative stitch options on your sewing machine.
. Mix and Match Fabrics: To create a patchwork effect, use various dish towels or leftover fabric.
Common Mistakes to Avoid
- Using Thin Fabric: Thin fabric won’t provide enough heat protection, making the pot holder unsafe.
- Skipping heat-resistant padding: This layer is essential for safety. Don’t skip it!
- Not Securing Layers: Make sure the layers are pinned securely before sewing to avoid uneven stitching.
- Improper Measurements: Measure carefully to ensure your pot holder isn’t too small or too large.
FAQs
1. Can I use any type of dish towel?
Not all dish towels are suitable. Choose one that is thick, durable, and preferably made of 100% cotton. Thin or synthetic towels may not hold up to heat and could be unsafe.
2. What if I don’t have heat-resistant padding?
If you don’t have specialized padding, you can use multiple layers of cotton batting. However, for maximum protection, it’s best to invest in heat-resistant material.
3. Do I need a sewing machine?
A sewing machine makes the process faster and creates stronger seams, but it’s not essential. You can sew the pot holder by hand using a backstitch
4. Can I wash my DIY pot holder?
Yes! Since it’s made of fabric, your pot holder can be machine washed. However, avoid using bleach or harsh detergents, especially if it has patterns or colors.
Final Thoughts
More than just a DIY project, creating a dish towel pot holder is an eco-friendly and creative way to give your kitchen a unique touch. You can create a lovely and useful pot holder that can accommodate all of your hot pots and pans with a little work and imagination.
This project is simple, satisfying, and a terrific way to recycle things you already have, regardless of your level of experience with do-it-yourself projects. Try it, and you’ll soon have a new, handcrafted gem in your kitchen that you’ll use and value every day!


